
相信使用过Python的同学都不会对JupyterNotebook陌生,而JupyterLab是JupyterNotebook的升级版,它提供了更好的用户体验,例如可以同时在一个浏览器页面打开编辑多个Notebook,Ipython console和terminal终端,并且支持预览和编辑更多种类的文件等;
本文讲述了如何安装JupyterLab,并实现远程登录;
安装JupyterLab
在安装JupyterLab之前,要求具有Python3、Pip以及Node环境;
安装
使用pip直接按照即可:
pip install jupyterlab配置
① 生成配置文件
首先,生成配置文件:
jupyter notebook --generate-config
# 生成的文件位于:~/.jupyter/jupyter_notebook_config.py #配置文件
② 设置登录密码
随后,进入ipython交换中设置密码:
$ ipython

In [1]: from notebook.auth import passwd
In [2]: passwd()
Enter password: ******
Verify password: ******
Out[2]: 'sha1:xxxxx:xxxxxxxxx'  # 这段是密钥
把生成的密钥’sha1:xxx…’复制下来后面用;
同时,password是远程登录时需要输入的密码,需要记住;
③ 修改配置文件
# vim ~/.jupyter/jupyter_notebook_config.py

c.NotebookApp.ip = '*'
c.NotebookApp.password = u'sha:xxx...刚才复制的那个密文'
c.NotebookApp.open_browser = False
c.NotebookApp.port = 8888    # 服务端口号
c.NotebookApp.allow_remote_access = True
c.NotebookApp.notebook_dir = u'目录'  # 这个是根目录即文件保存目录,不想配置就不配置,默认是用户家目录
主要修改以上6个配置;
至此,配置完毕;
启动并访问JupyterLab
通常,我们会将JupyterLab作为后台服务运行;
可以使用下面的命令:
jupyter-lab --allow-root > /root/self-workspace/jupyter-notebook/jupyter.log 2>&1 &日志的记录位置请自行修改;
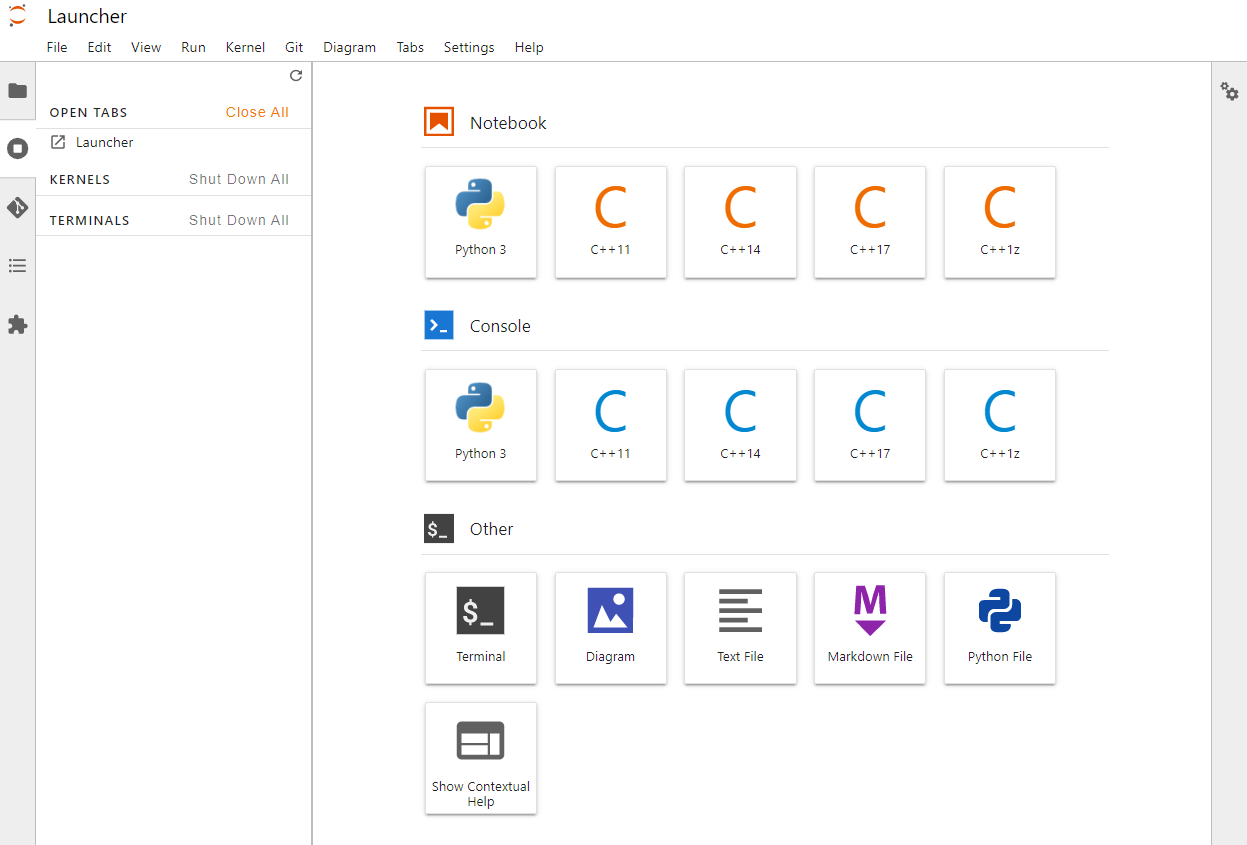
启动后访问http://your-ip-address:8888就可以访问JupyterLab的登录界面;
输入密码后即可访问,如下图:
插件推荐
推荐使用的插件有:
- jupyterlab/google-drive;
- jupyterlab/github;
- jupyterlab/git;
- jupyterlab-drawio;
附录
文章参考: